These are the steps to setup this jekyll site repository on a Windows PC. All the code snippets are to be run in the Powershell terminal.
Base setup
- Windows Developer Enabled
- Winget Package Manager
- Github CLI
- Ruby
- Jekyll
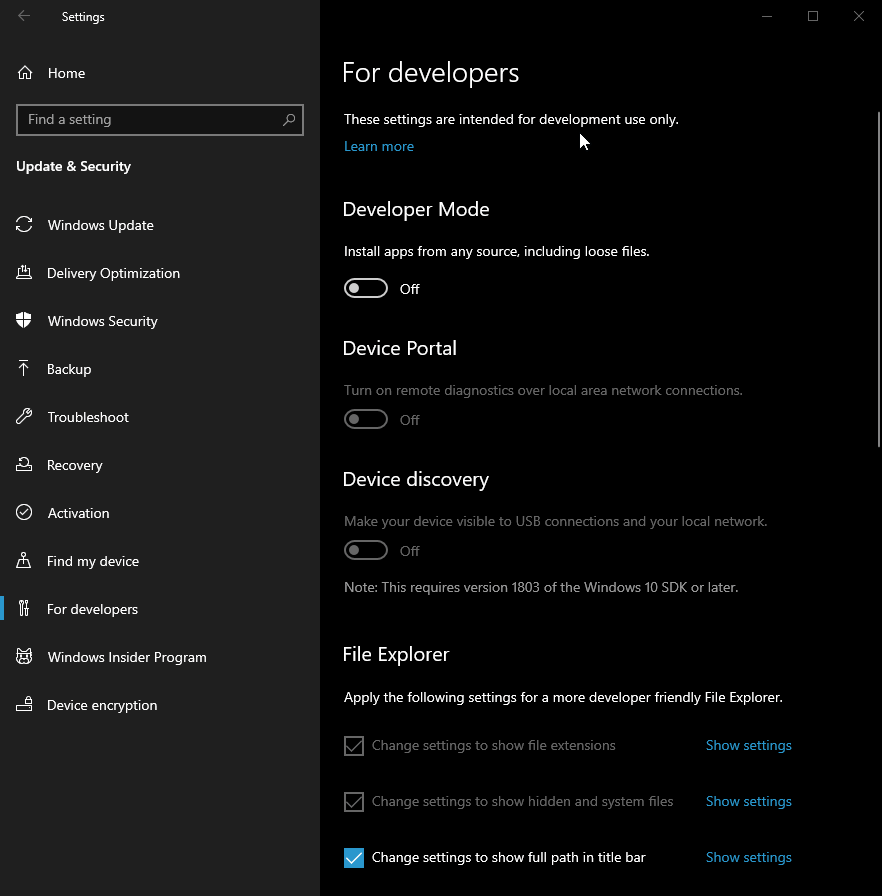
Windows Developer Settings (Windows 10 only)
Update your OS settings to allow shell scripts to execute and to install winget (if applicable). Without this setting, you may run into issues later on.
 )
)
NOTE: This change opens up a lot of security vualnerabilities so proceed with caution.
Install Winget (Windows 10 only)
Winget is a package manager for Windows and is developed and maintained here.
Downloadable msi files can be found here.
You can directly download the msi file from the following link:
https://github.com/microsoft/winget-cli/releases/download/v1.1.12653/Microsoft.DesktopAppInstaller_8wekyb3d8bbwe.msixbundle
Or you can run the following commands in Powershell to download the msi file:
# Navigate to the directory where the msi file will be installed
cd ~
$download_folder = ".winget"
mkdir $download_folder
cd $download_folder
# Download installation package

$version = "v1.1.12653"
$url = "https://github.com/microsoft/winget-cli/releases/download/$version/Microsoft.DesktopAppInstaller_8wekyb3d8bbwe.msixbundle"
$FileName = Split-Path $url -Leaf
$FullPath = "$pwd\$FileName"

$webclient = New-Object System.Net.WebClient
$webclient.DownloadFile($url, $FullPath)

echo "Saved $FileName"
Open installation file
ii $FullPath
Silent Install Option
msiexec /i $FullPath /qn /norestart
confirm that you have installed Winget by running the following command:
# Confirm Winget installation
winget -v
Install Github Command Line Interface
The Github CLI is a command line interface for the Github API. It is used to create and manage repositories. It is also used to create and manage issues and pull requests.
# Install Github CLI
winget install git.git
winget install GitHub.cli
Reload the shell
Confirm that you have installed the Github Command Line Interface by running the following command:
# Confirm Github CLI installation
gh -v
Login to gh cli using your github credentials
# Login to gh cli
gh auth login
Find your User ID in the github emails settings more info here
$GIT_ID = Read-Host "What is your Github ID?"
$GIT_USER_NAME = Read-Host "What is your Github User Name?"
git config --global user.name "$GIT_USER_NAME@users.noreply.github.com"
git config --global user.email "$GIT_ID+$GIT_USER_NAME@users.noreply.github.com"
Install Software Packages (optional)
For a list of packages you can download/install using winget, see here
For a list of package bundles, see here
Detailed instructions for installing software packages can be found in the Winget section.
# Navigate to your home directory and clone the winget packages
cd ~
gh repo clone bamr87/winget-packages .winget
# Navigate into winget file repo and install packages
cd ~/.winget
winget import --import-file winget-app-core.json
winget import --import-file winget-app-dev.json
Windows Terminal
Oh-My-Posh
Nerd Fonts
Windows Sub Linux
Download Ubuntu
Invoke-WebRequest -Uri https://aka.ms/wslubuntu2004 -OutFile Ubuntu.appx -UseBasicParsing
wsl --set-default-version 2
dism.exe /online /enable-feature /featurename:VirtualMachinePlatform /all /norestart
dism.exe /online /enable-feature /featurename:Microsoft-Windows-Subsystem-Linux /all /norestart
Docker
Windows Instructions wsl
Install VS Code
VS Code is a text editor that integrates well with Github. It is a free and open source software editor.
#install VS Code via Winget
winget install Microsoft.VisualStudioCode
Log into VS code using your github account by clicking on the Account icon on the bottom left of the VS code window.
Install VS Code extensions (optional)
Here’s a recommended list of VS Code extensions to install:
aaron-bond.better-comments
DavidAnson.vscode-markdownlint
eliostruyf.vscode-front-matter
esbenp.prettier-vscode
Gruntfuggly.todo-tree
James-Yu.latex-workshop
leodevbro.blockman
mdickin.markdown-shortcuts
ms-azuretools.vscode-docker
ms-dotnettools.csharp
ms-kubernetes-tools.vscode-kubernetes-tools
ms-python.python
ms-python.vscode-pylance
ms-toolsai.jupyter
ms-toolsai.jupyter-keymap
ms-toolsai.jupyter-renderers
ms-vscode-remote.remote-containers
ms-vscode-remote.remote-wsl
ms-vscode.powershell
ms-vsliveshare.vsliveshare
ms-vsliveshare.vsliveshare-audio
ms-vsliveshare.vsliveshare-pack
redhat.vscode-xml
redhat.vscode-yaml
sissel.shopify-liquid
streetsidesoftware.code-spell-checker
syler.sass-indented
TakumiI.markdowntable
tchayen.markdown-links
telesoho.vscode-markdown-paste-image
yzhang.markdown-all-in-one
Iterating over file to install extensions
cd ~/github/it-journey/_quickstart
Get-Content extensions.txt | ForEach-Object {code --install-extension $_}
Fork or clone Github Repository
Now you can fork the repository from Github and start working on it.
# Navigate to your home directory, create a github folder, and fork the github repo
cd ~
mkdir github
cd github
gh repo fork bamr87/it-journey
Jekyll & ruby Setup
Install Ruby
Ruby is the programming language of choice for Jekyll, and also manages the dependencies for the Jekyll gem.
# Install Ruby (version 2.7 for github pages)
winget install RubyInstallerTeam.RubyWithDevKit.2.7 -v 2.7.4-1
If this doesn’t work, download the MSI file and install manually.
exit the shell
Install Gems
Once Ruby is installed, you can install all the gems and its dependencies based on the Gemfile. First exit the terminal and open a new terminal to initialize the new PATH variable.
# Navigate to your github repo and install gems and its dependencies
cd ~/github/it-journey
bundler install
Restart your terminal
Verify that Jekyll is installed
# Verify Jekyll is installed
jekyll --version
Build Jekyll site
To build the Jekyll site, you need to run the following command:
# Build Jekyll site
jekyll build
Start Site locally
To start the site locally, you need to run the following command:
# Start Jekyll site locally
jekyll serve